
Kitchen Renovation | Tile Floor + Backsplash
So many layers.
FLOORS
Oh, the floors. We had this brown builder grade tile that was chipping and breaking. The grout was also degraded and breaking so it all needed to be pulled up and tossed out. We demoed the floor by using metal hammers to break up the tile. The tile was not installed very well, so it didn’t take much effort to break up and pull up. But that was the first layer.
Floor Demo - Underneath the tile was about 2 more layers of different linoleum floors. Previous owners had just layered floor over floor. We pulled up 3 layers of floor in total. For all the demo material, we got one of those big green bags from Home Depot and used it for the trash. To our surprise, someone picked it up so it was a win for us.
Floor Installation - Once we cleaned up the final layer of floor, we needed to lay down a water resistant base for our new tile. We laid down 1/4inch Wonderboard Lite on top of our subfloor. Once the cement board was down and level, we hired someone to install our tile.
We used a thin set mortar and trowel to adhere the Wonderboard to the subfloor.
We took this opportunity to use the mortar process to lay the tile and level it carefully since we have an old wonky house.
We used cement screws every 18 inches to secure it.
For the seams we used an alkali resistant mesh tape and mortar to fill in the gaps between the boards.
Tile - The tile we chose was a large square tile. Because of its size, we decided to use a contractor to lay it for us after we installed the Wonderboard Lite. Since we had all the tile to be installed for the backsplash and wall behind the coffee station we had the contractor install all the tile while they were on site.

Our quality assurance manager always ensuring we’re staying on track.

Tile demo was pretty easy but messy.

Proof that I helped demo some floor.
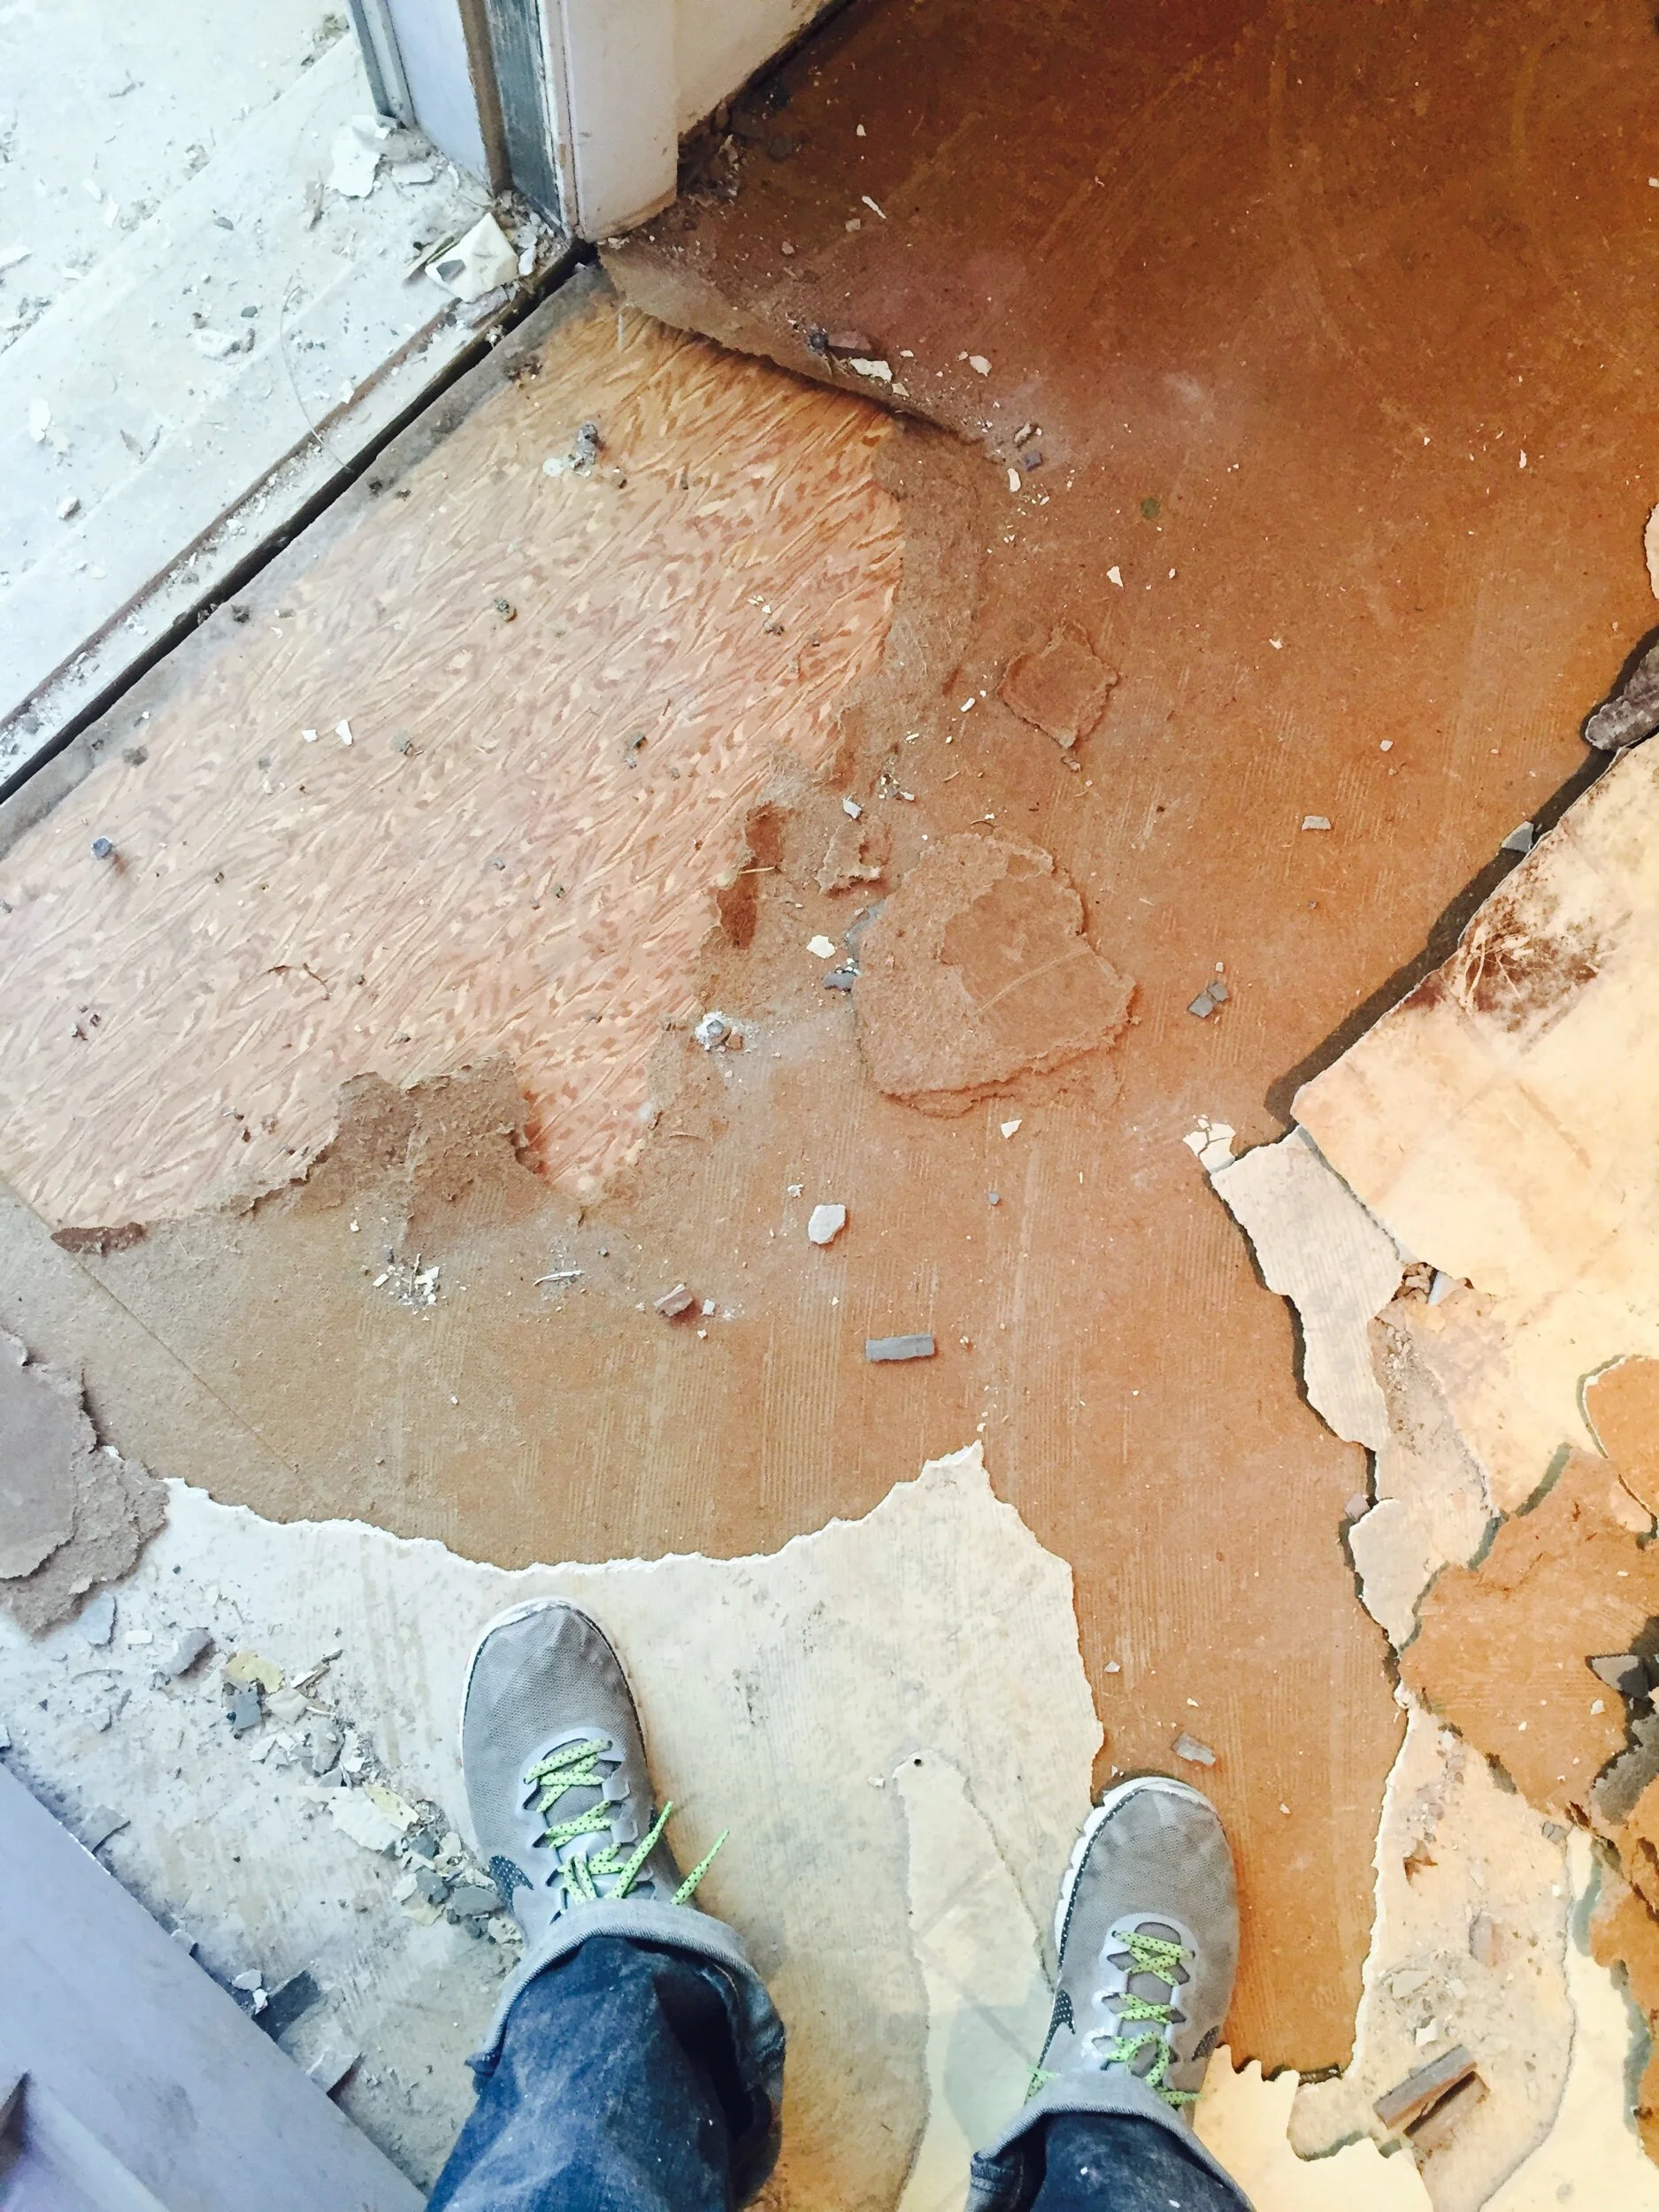
The layers of floor. We already tossed out the cheap builder grade tile. This is a portion of the additional layers of linoleum cardboard we removed.

After the floor demo, this is the subfloor before we installed the Wonderboard lite and tile. We vacuumed up all the dust and cleaned the floor to ensure the Wondeboard lite was installed on a clean surface.

After the Wonderboard Lite was installed. We troweled a thin set mortar under the boards to adhere and level.
BACKSPLASH
We used two different backboards for the backsplash areas.
Tile above the sink - we used the Wonderboard Lite in a 1/2 inch size to create a water resistant backing for the tile. This is the same product we used on the floor but in a different size.
Tile backsplash above counters - we used green board which is a mildew resistant drywall
Tile is a standard 3x6 inch white subway tile and we used a dark grey grout.

View of Wonderboard Lite installed above sink area and the Green board installed for the remaining backsplash.

After the floor tile was installed with the spacers still in place while setting.

After the subway tile backsplash was installed and the wall where we planned to put our coffee station.
SKIMM COAT THE WALL
We had one small wall area around our kitchen window that was textured, and I don’t have a good picture of it, but trust me it was super thick texture. We also knew there was wall paper under the paint and texture, so we decided to remove as much of it as possible. Once we got down to the final layers of wallpaper, the thin top surface of the drywall started to peel off in spots, so the wall wasn’t even and smooth still. Enter the skimm coat process.
We could have just started with sanding down the texture on the wall as best we could and then still done the skimm coat method to create a smooth wall surface, but we wanted to to also remove as much of the old wallpaper as we could without having to install all new drywall. It’s not a complicated process, but it is a time consuming and patience testing process.
Sand as smooth as you can or remove all wall paper and paint.
Start by using a large trowel and apply thin coats of drywall mud. We used a quick dry 45 min drywall mud because of the big area we were doing we knew we would need to do a lot of thin coats.
After layer is dry, sand until smooth.
Clean dust.
Start your next layer of thin drywall mud and let it dry.
After layer is dry, sand until smooth.
Repeat mud application, drying, sanding until wall surface is smooth and ready for new paint, We did this process about 7 times until we got the drywall feel we liked. But it was less overall headache than all new sheetrock, and taping it.
Hawk tool! Using this 10 inch x 10 inch Aluminum Hawk with handle was a must have.

